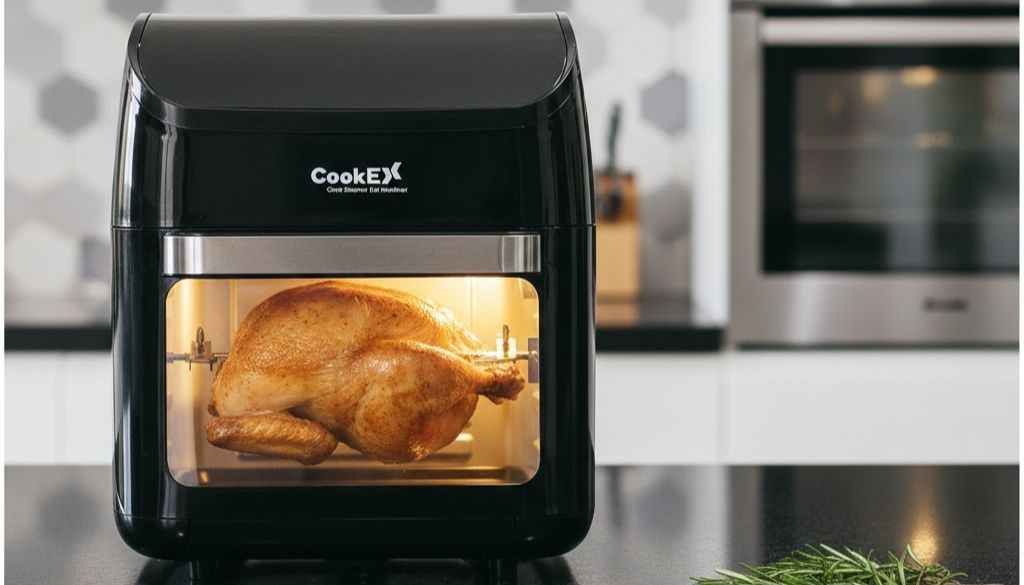
How to Clean an Cookex Air Fryer Safely and Effectively in 2026 (Step-by-Step Guide)
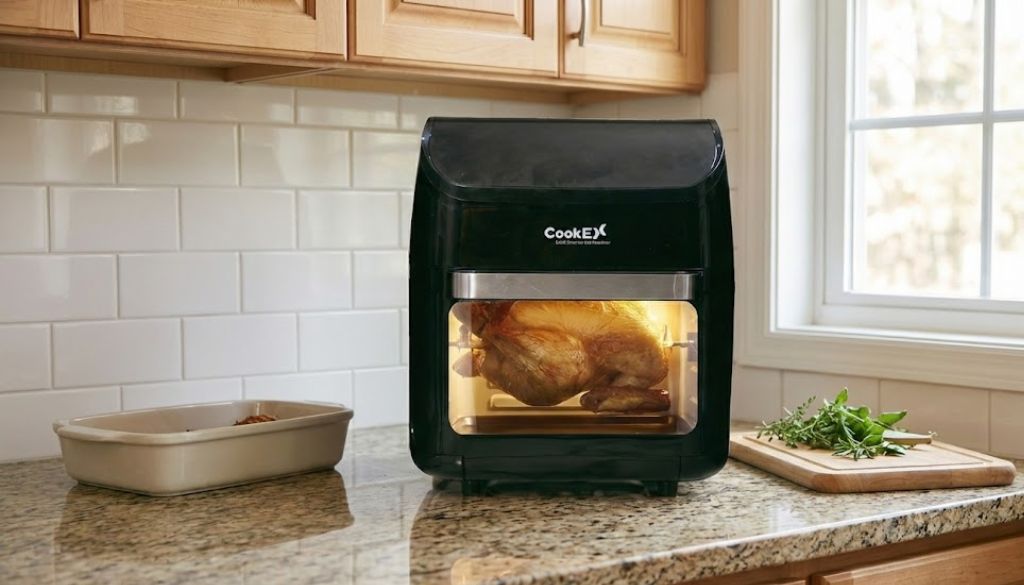
Cookex Air Fryers have become an everyday kitchen essential, and in 2026, they are smarter, more powerful, and more widely used than ever. From quick breakfasts to crispy dinners, the Cookex Air Fryer helps save time, reduce oil use, and simplify cooking. However, with frequent use comes grease buildup, food residue, and lingering odors—issues that can impact performance if not addressed properly.
Learning how to clean an air fryer safely and effectively in 2026 is not just about hygiene. Proper cleaning protects the non-stick coating, maintains even heat circulation, prevents smoke, and extends the lifespan of your appliance.
This complete guide walks you through safe, modern air fryer cleaning practices, using simple tools and proven techniques—no harsh chemicals, no damage, and no guesswork.
Why Cleaning Your Air Fryer Matters More Than Ever
Modern air fryers operate at high temperatures and rely on rapid air circulation. When grease and food particles accumulate:
- Airflow becomes restricted
- Food cooks unevenly
- Smoke and burnt smells appear
- The heating element may become coated with residue
- The non-stick basket wears out faster
Regular cleaning ensures:
- Better-tasting food
- Safer operation
- Lower fire risk
- Longer appliance life
The good news? Cleaning an air fryer does not need to be complicated or time-consuming—if done the right way.
Step 1: Preparation
Safety First
Before cleaning, always unplug the air fryer and allow it to cool for at least 30 minutes. Cleaning a hot appliance increases the risk of burns and can damage internal components when water meets heat.
Never rush this step—even if you are short on time.
Remove All Detachable Parts
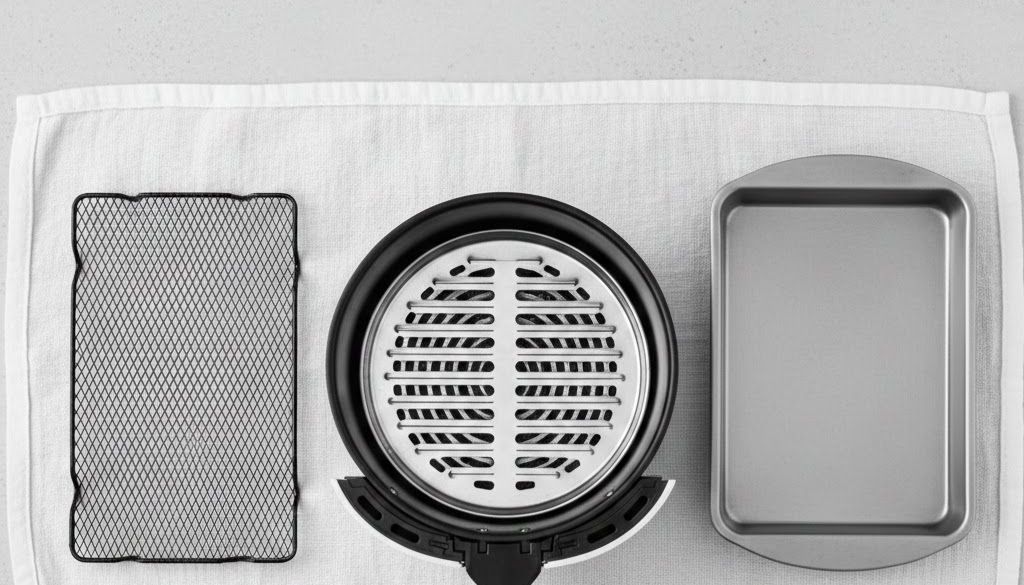
Take out:
- The basket
- The crisper plate
- Any removable trays or inserts
Separating these components allows for thorough cleaning and prevents moisture from reaching electrical parts.
Step 2: Cleaning Removable Parts
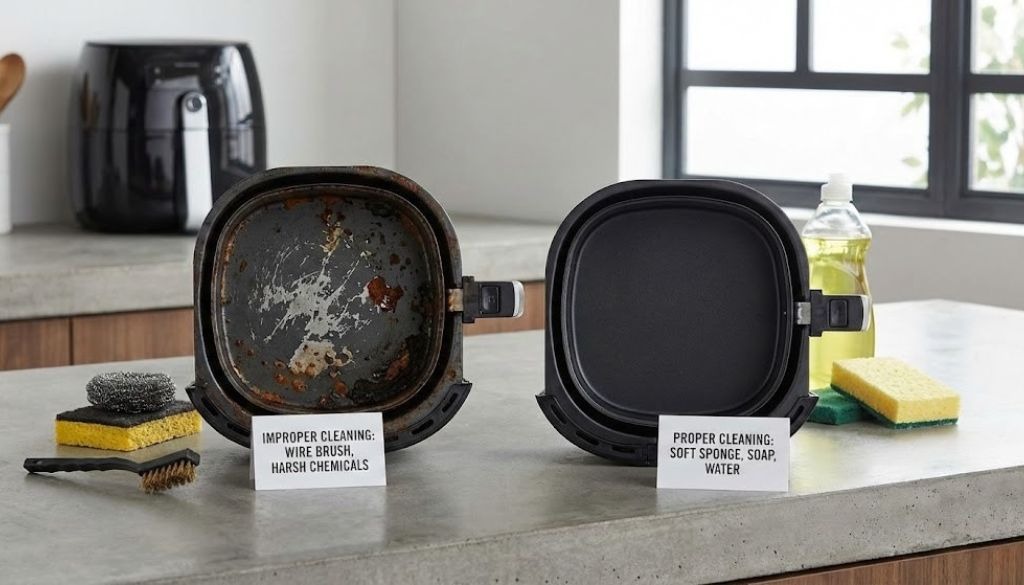
Hand-Wash for Best Results
Use warm, soapy water and a non-abrasive sponge. Avoid steel wool, wire brushes, or metal scouring pads. These tools may clean quickly, but they permanently destroy non-stick coatings.
A gentle approach keeps the basket functional for years.
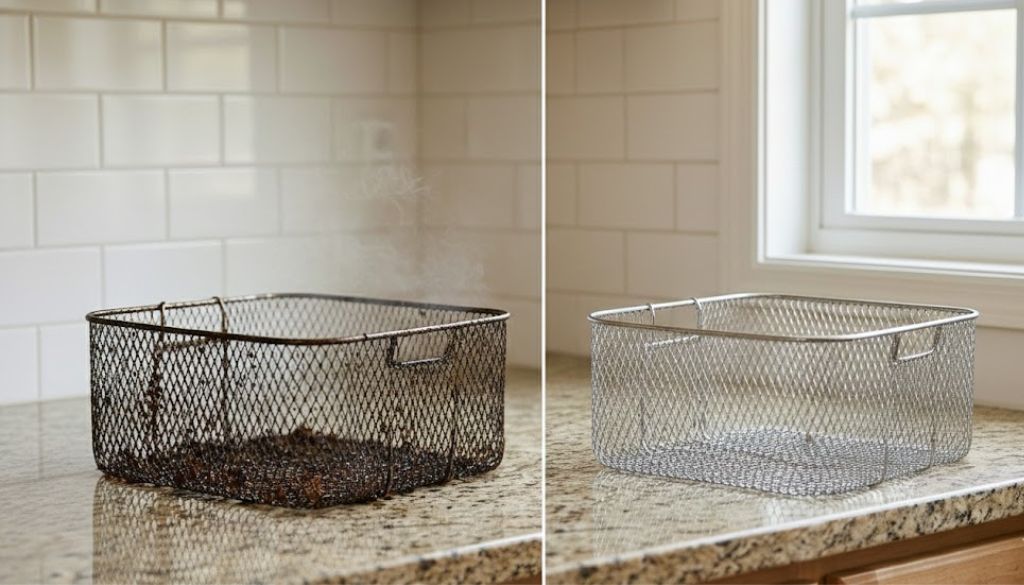
Soak for Stubborn Grease
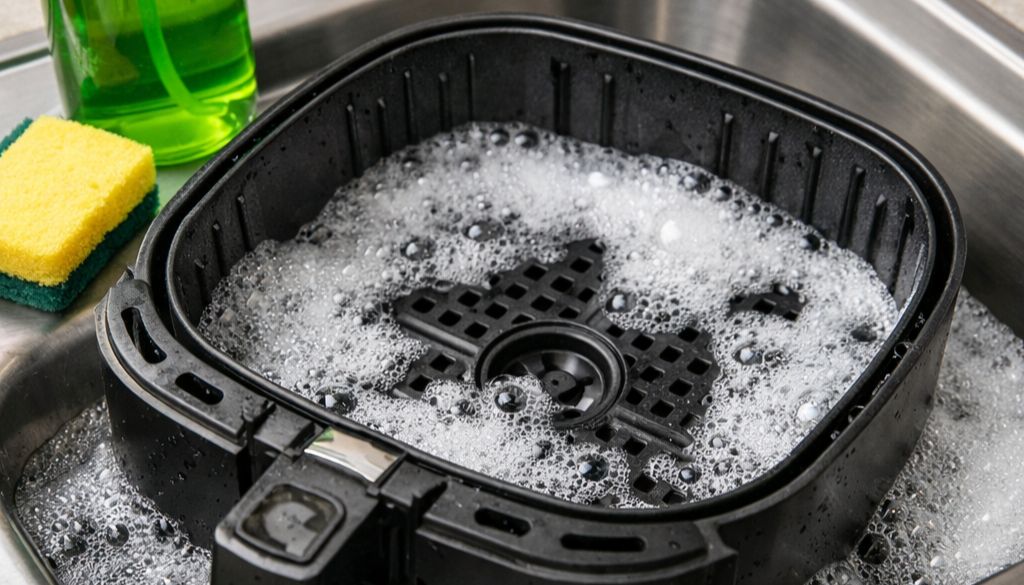
If food residue is baked on:
- Soak parts in hot soapy water for 10–15 minutes
- For tougher grease, use a grease-cutting detergent like Ariel soap
- Alternatively, apply a baking soda and water paste, let it sit, then rinse
Soaking loosens grime without force, protecting the surface.
Detailing Small Spaces
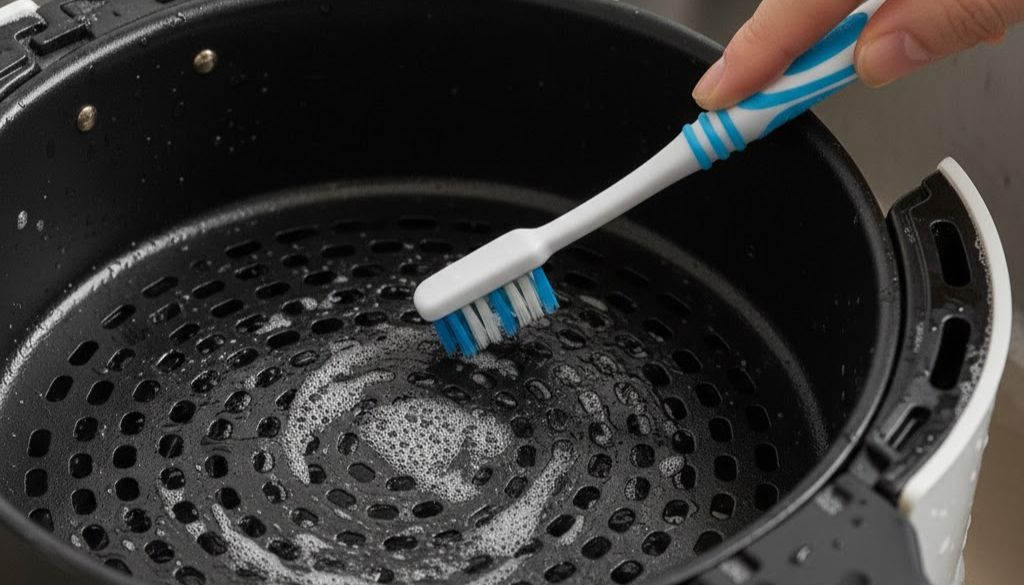
Food particles often hide in:
- Mesh corners
- Small holes
- Edges of the crisper plate
Use:
- A soft-bristle toothbrush
- A wooden skewer (never metal)
These tools remove debris without scratching the coating.
Step 3: Cleaning the Interior
Wipe the Interior Walls
Using a damp microfiber cloth or sponge, gently wipe the interior walls. Add a small amount of dish soap if grease is present.
Avoid excess water. Moisture should never drip inside the unit.
Cleaning the Heating Element
Grease splatter can reach the heating coil over time, causing smoke or burning smells.
To clean it:
- Ensure the unit is unplugged and fully cooled
- Gently wipe the coil with a damp cloth or soft brush
- For easier access, carefully flip the Cookex Air Fryer upside down
Important Warning
- Never submerge the main unit in water
- Never spray cleaner directly onto the heating element
Liquid entering electrical components can permanently damage the appliance.
Step 4: Cleaning the Exterior
Wipe Down the Outer Shell
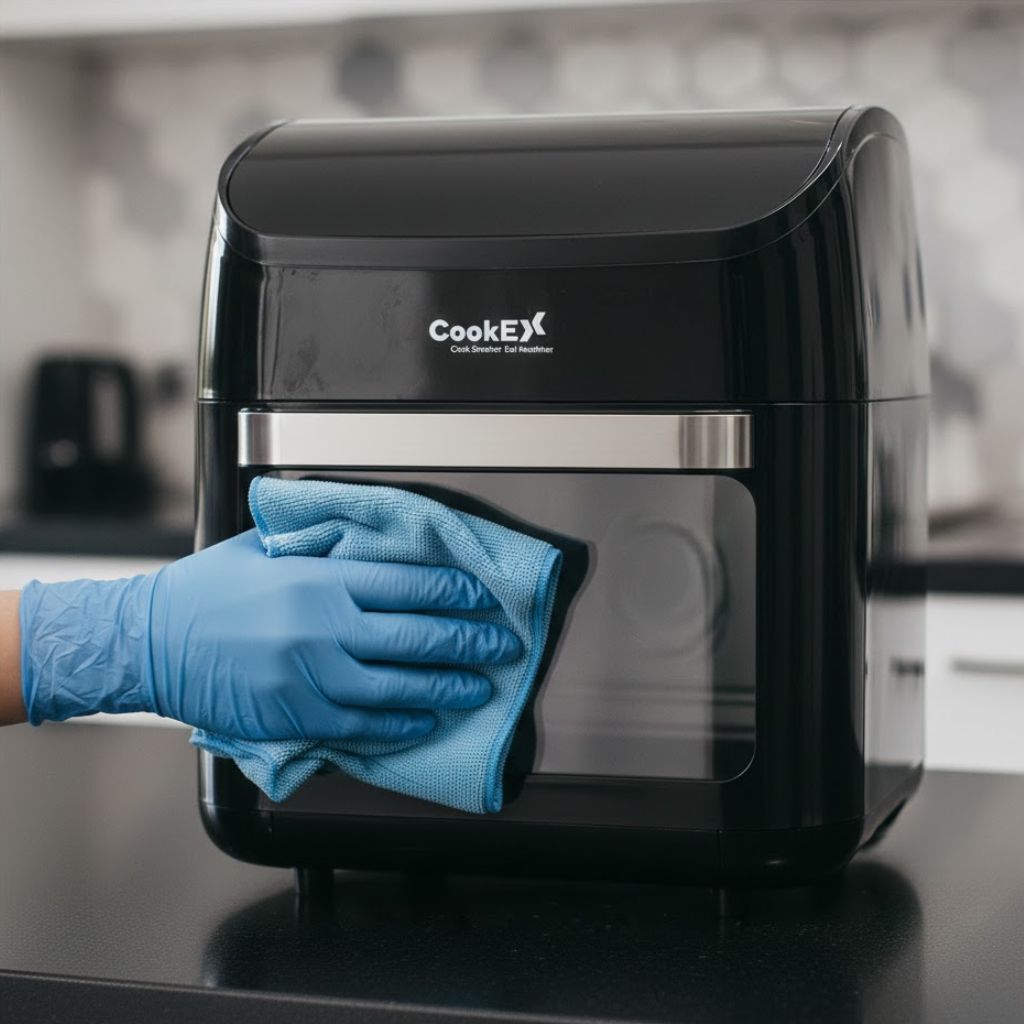
Use a slightly damp cloth to clean:
- The exterior casing
- The handle
- The control panel
Avoid soaking buttons or digital displays.
Buff Dry for a Like-New Finish
Use a dry microfiber towel to remove water spots and fingerprints. This keeps the appliance looking new and prevents moisture buildup around seams.
Step 5: Drying and Reassembly
Ensure Absolute Dryness
Every component must be completely dry before reassembly. Trapped moisture can lead to:
- Mold growth
- Rust formation
- Electrical issues
Air-dry parts or towel-dry thoroughly.
Final Heat Run
Once reassembled, run the air fryer at a low temperature for 3–5 minutes. This evaporates any remaining internal moisture and prepares the unit for its next use.
Maintenance Tips for Long-Term Performance
Clean After Every Use
A quick wipe of the basket after cooking prevents grease from hardening and becoming difficult to remove later.
Remove Lingering Odors
For stubborn smells:
- Place an oven-safe dish inside the basket
- Fill it with water, lemon juice, and vinegar
- Run the air fryer at 400°F for 10 minutes
This neutralizes odors naturally without chemicals.
Use Air Fryer Liners
Parchment paper liners or silicone liners help minimize mess. Always ensure liners are:
- Designed specifically for air fryers
- Weighed down by food to prevent airflow blockage
Common Air Fryer Cleaning Mistakes to Avoid
- Using oven cleaner or bleach
- Scraping with metal tools
- Washing while hot
- Submerging the main unit
- Ignoring the heating element
Avoiding these mistakes keeps your air fryer safe and functional.
How Often Should You Clean Your Air Fryer?
- After every use: Wipe basket and crisper plate
- Weekly: Deep clean removable parts
- Monthly: Inspect and clean heating element
- As needed: Odor treatment
Consistency is more effective than aggressive scrubbing.
Conclusion: Clean Smarter, Not Harder
In 2026, air fryers are smarter—but they still rely on good maintenance. Knowing how to clean your air fryer safely and effectively protects your meals, your appliance, and your health.
With simple tools, gentle methods, and regular care, your air fryer can stay efficient, odor-free, and reliable for years to come.
A clean air fryer doesn’t just look better—it cooks better.